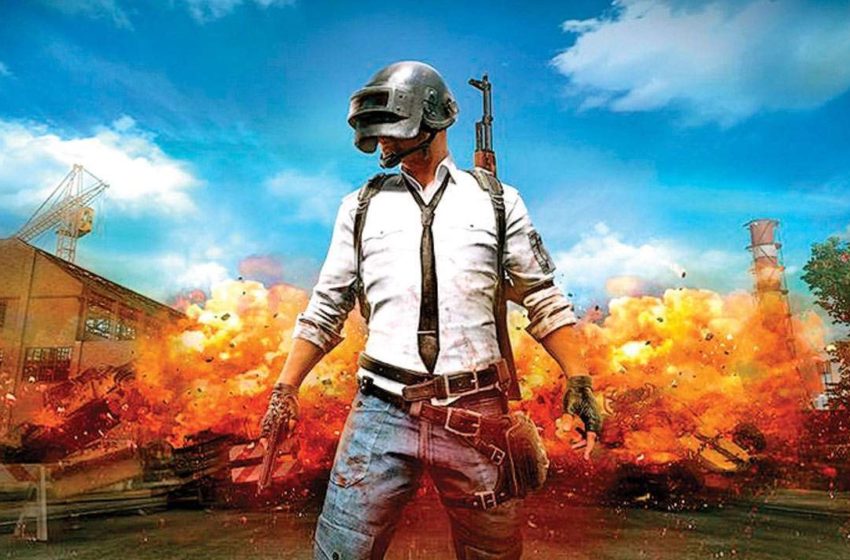
While PlayerUnknown’s Battlegrounds is mostly known for its existence around the PC community, its community on console is growing and strong.
When you have a game like this on console, you’re sure to experience some setbacks, such as more exact control. The default options for your game, while passable, aren’t the best option for you.
Tweaking your settings (controls, movie, audio, etc.) is conducive to bettering your game to the next level. But, it may be a thing that is frustrating and pretty overwhelming when you go into your settings with the alternatives which are accessible to you.
Fortunately, we have what we believe are the best configurations you can use to receive your own Chicken Dinner.
Just like everything like this, feel free to experiment and play with these settings to find the perfect fit for you.
Controller Settings
- Controller Button Preset – Type B
You’ll want to change this to Type B immediately so that you can use Left Trigger to aim down the sights. It’s the preferred preset for professional players and generally considered the best way to play - Invert X-Axis/Y-Axis
Entirely up to you if you want to invert this - Right Stick Dead Zone
Changing this can help if your joystick has any drift. It changes the range that your stick can move before initiating movement on screen. - Left Stick Dead Zone
This should most likely be the same as your right stick, but could differ depending on how drift is affecting it - Vibration
Another preferential thing. If you like having the vibration feedback, have this on.
Sensitivity
- Forward Running Sensitivity – 10
This setting controls how you can consistently move in a straight line - Movement Sensitivity – 8-20
Having this number higher will cause you to move faster, so if you feel like you are too fast or too slow, you can mess with this number - Vertical Sensitivity Multiplier – 75-100
Not many players know how to use this setting, and it can really help once you get the hang of it. It makes it so that vertical movement is faster than horizontal. - General Sensitivity – 20
A higher sensitivity allows you to look around and survey a lot faster. - Vehicle Driver Sensitivity – 10
This one is entirely preferential. - Aim Acceleration – Enabled.
This lets you move your reticule considerably faster when turning all the way around, pretty helpful. - Aim Acceleration rate – 4
This is a good level in the middle. You can adjust accordingly. - Over the Shoulder Aiming Sensitivity
This is up to you and how you like to play. It’s about how comfortable you are.
Sensitivities can cause a lot of problems in the game as they can completely mess up your reaction times and abilities. Building up your muscle memory with your sensitivity is wildly important to playing well.
Aiming Down the Sights
- 1X Optic Sensitivity – 3
- 2X Scope Sensitivity – 3
- 3X Scope Sensitivity – 3
- 4X Scope Sensitivity – 5
- 6X Scope Sensitivity – 5
- 8X Scope Sensitivity – 5
- 15X Scope Sensitivity – 6
Again, these sensitivities are all important to learning how to play to the best of your abilities. It should be noted that the 15x scope is incredibly slow so that’s why it’s important to bump it up.
Gameplay Settings
- Language
Whatever language you speak/read. - Cross-Platform Play – ON
Since cross-play is only between PS4 and Xbox One, turn this on to reduce queue times. - Game DVR – Disabled
This is really up to you; we just like not having the notifications always popping up and the clips taking up storage - Killfeed Type – Graphic
The Graphic setting takes up less space on your screen. - Colorblind Mode
Depends on if you’re colorblind and which type you are. - Crosshair Color
Your choice but we recommend going with something that isn’t going to blend in. - On-Screen Button Hints – Disabled
- Network Debug Statistics – Disabled
- Compass Background – Disabled
- Auto Replace Weapon Skin
This isn’t really an important setting. - Default Firing Modes – Single
It’s just the easiest way to play and is the best option when you get into a firefight. - TPP Aim Camera Position – Reset to Right Shoulder
- Auto Reload – Enabled
Helps to make sure you won’t get caught without any bullets loaded and ready. - Auto Equip Attachments – Enabled
Really helps save time when looting. - Auto Equip Scopes – Disabled
Having this enabled can cause trouble with equipping a scope you don’t want. - Auto Replace Attachments – Enabled
- Radio Message
Preferential, but Quick Ping can be helpful in the game.
Audio Settings
The settings here are designed to help reduce any distracting noise. it helps accent the noises that affect the way you play.
- Master Volume – 100
- Gameplay Volume – 100
- UI Volume – 25-75
Depends on preference. - Music – Disabled.
Graphics Settings
- Field of View – 92
A high field-of-view can help you spot more enemies. When you go past 92, you start to get diminishing returns. - Brightness – Normal to High
Depending on your monitor/screen and your eyesight, you should keep this as it is or higher. - Universal Brightness for All Maps – Disabled
The best thing to do would be to customize each map individually, but that can take a lot of time so it’s up to you.
With these settings, we guarantee you can elevate your game to the next level. Of course, some of these can be changed and played around with, so feel free to find the right fit.
Once you do, strap up, drop in, and get your Chicken Dinner.
PlayerUnknown’s Battelgrounds is available now on PC, Xbox One, Playstation 4, Android, and iOS.


